Powershell Introduction
Powershell is Microsoft Windows platform tool used for administrative purposes. We perform the administrative tasks by breaking the tasks into scripts to be executed with the help of Powershell.
Environment Setup required for Learning Powershell
It’s better to have your own set of things required while learning Powershell in order to try different concepts practically. This also allows you to try and test maximum concepts without any constraints (as the whole setup is yours).
Following is the list of the items required:
1. 2 to 3 network connected computers.
2. ISO files for Windows 10 Enterprise, Windows Server 2012r2 and Windows Server 2016.
Powershell Consoles
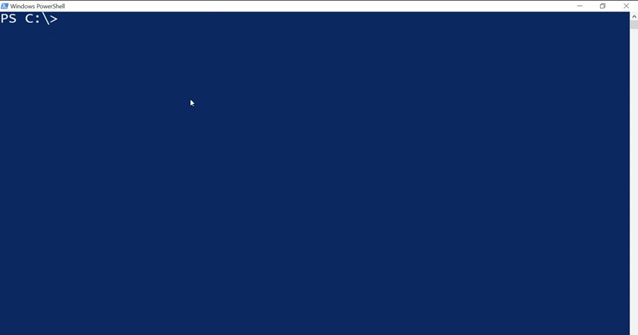
1. Powershell Console
Powershell console is used by administrators to perform the routine administrative chores for local and remote machines. You can open the console by clicking on ‘Start’ and starting to type ‘powershell’ as shown in screenshot below:
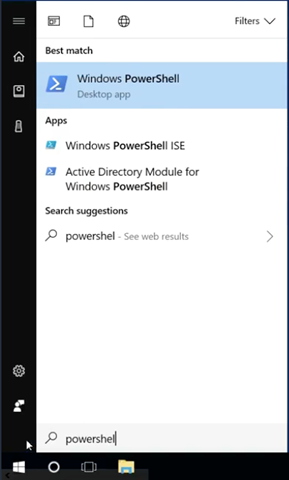
Then click on Windows PowerShell desktop app to open the console window:
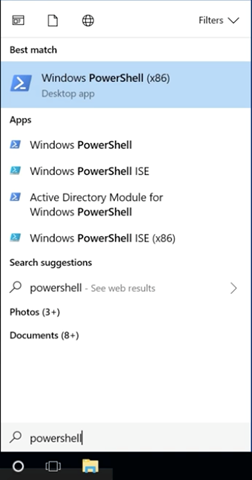
2. Powershell Console x86
x86 version of powershell console is used for the 32 bit systems. Example scenario would be remotely running powershell commands on some old machines which are having 32 bit architecture. You can access x86 console the same way as you did in the case of regular powershell console as shown in screenshot below:
3. Powershell ISE
Powershell ISE stands for Powershell Integrated Scripting Environment. As the name suggests, Powershell ISE helps us to write powershell scripts which we can execute again and again as we need. Powershell script file has an extension ‘.ps1’. ISE provides intellisense feature in order to help us with cmdlets while writing the scripts. ‘cmdlet’ is nothing but a posswershell command. In order to access powershell ISE, go to start and click “powershell†and then select Windows PowerShell ISE from the options displayed. Below is the screenshot of Powershell ISE window: